
Here are the general steps to install XAMPP on Windows, although the process may vary slightly depending on the specific version of XAMPP you are using:
- Download the XAMPP installer from the Apache Friends website (https://www.apachefriends.org/index.html).

- Double-click the downloaded installer file to start the installation process.
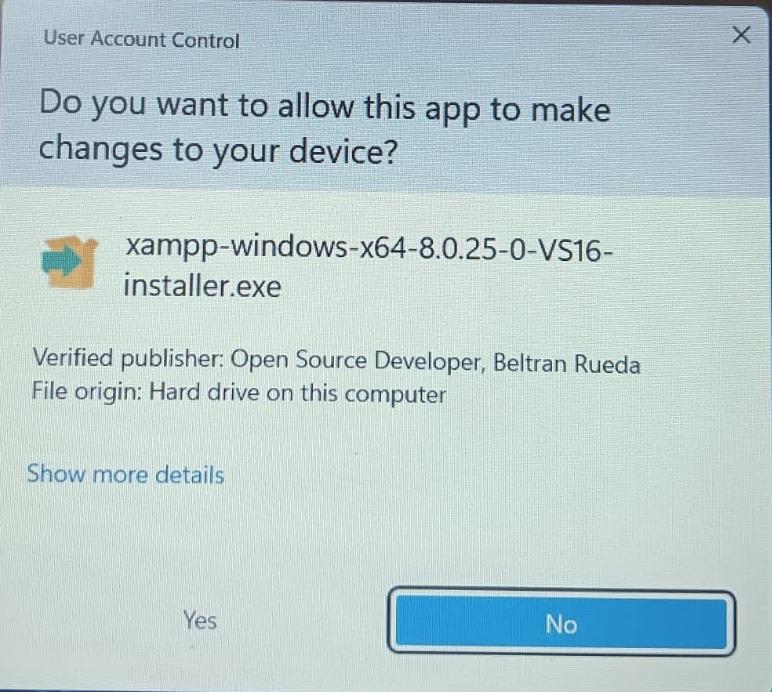
If you are prompted with a User Account Control (UAC) message, click “Yes” to allow the installer to make changes to your system.
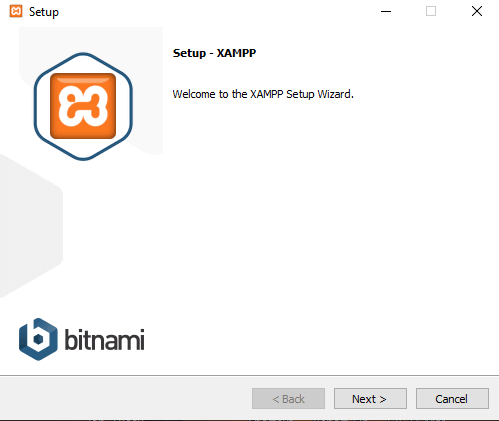
In the XAMPP Setup wizard, click “Next” to proceed with the installation.
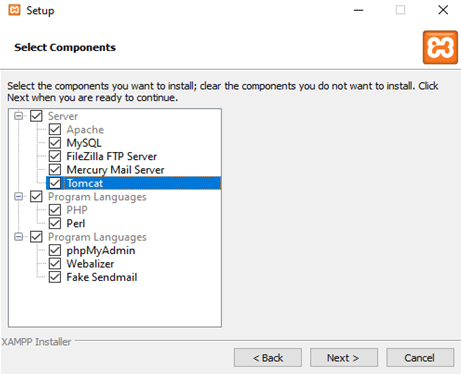
Choose the components you want to install (e.g., Apache, MySQL, PHP, etc.) by checking the corresponding boxes. You can also choose to install additional components such as phpMyAdmin and FileZilla by checking those boxes as well.
Choose the destination folder where XAMPP will be installed. By default, XAMPP will be installed in “C:\xampp”, but you can choose a different location if you prefer.
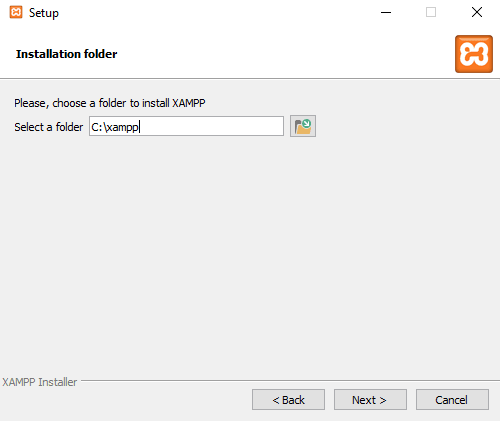
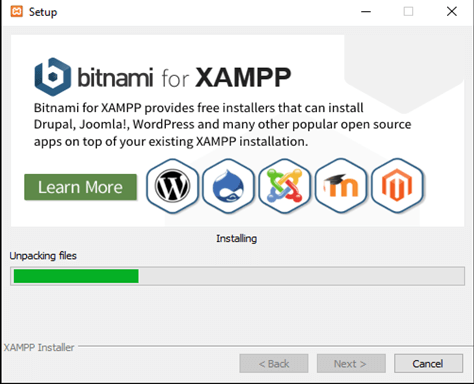
Click “Next” to start the installation process.
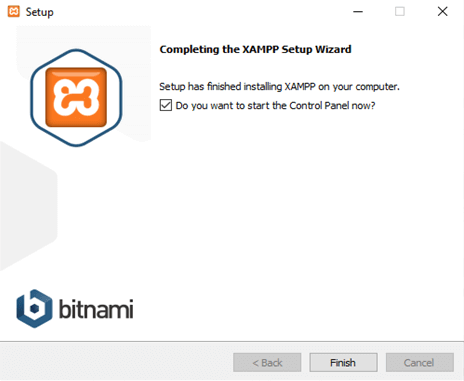
Once the installation is complete, click “Finish” to close the XAMPP Setup wizard.
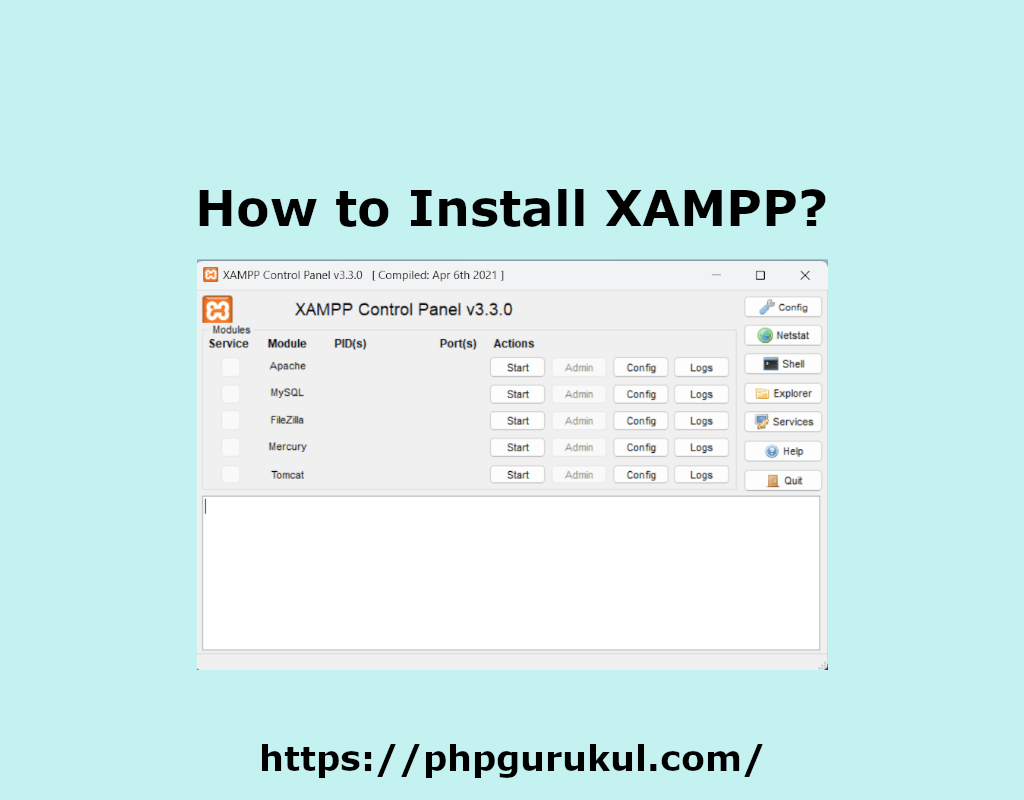
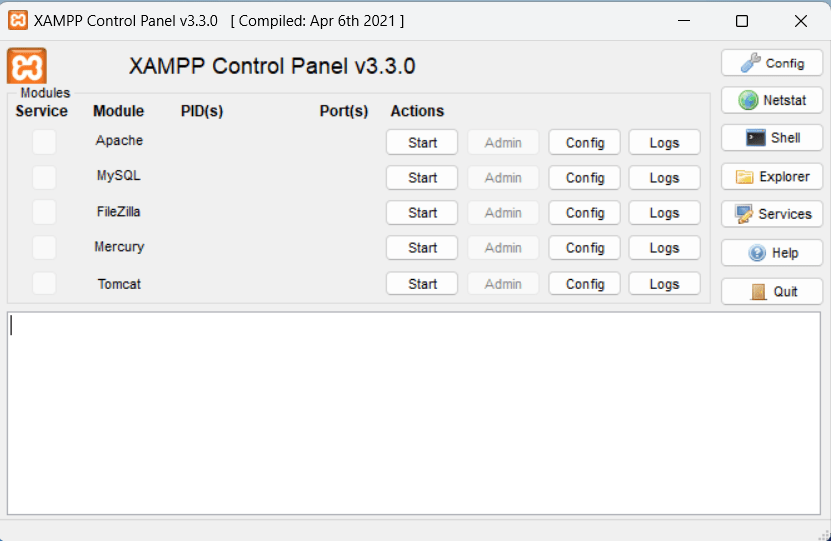
That’s it! XAMPP is now installed on your computer. To start using it, open the XAMPP Control Panel, which can be found in the installation directory (e.g., “C:\xampp”). From there, you can start and stop the various components of XAMPP (e.g., Apache, MySQL, etc.) and configure other settings as needed.
Leave a Reply